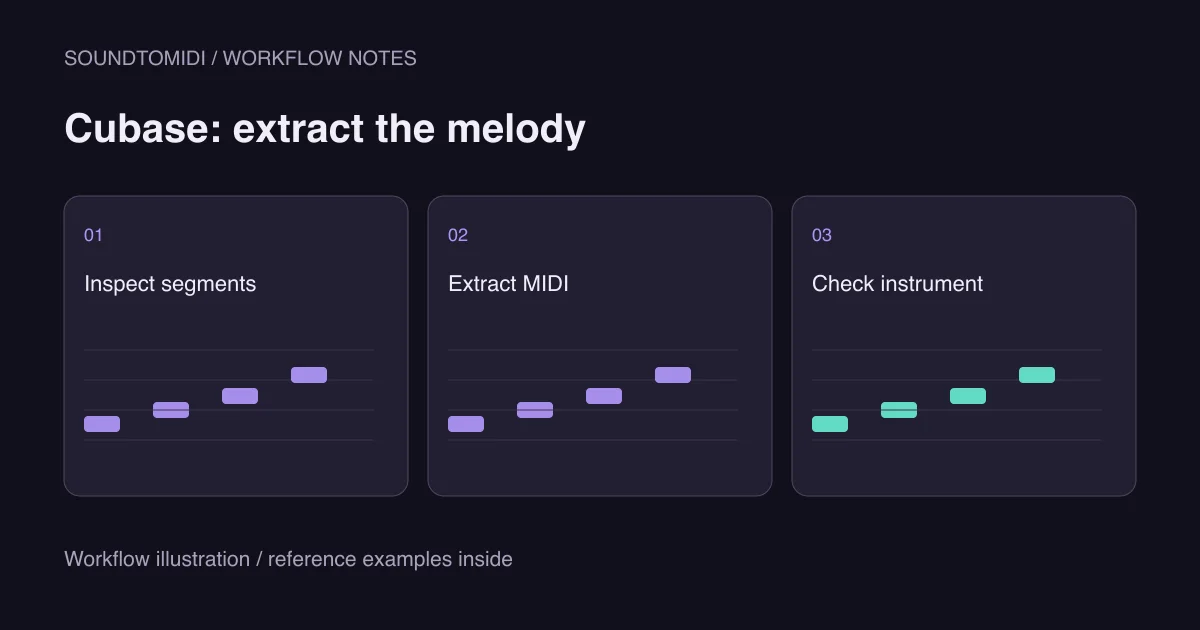
For audio to MIDI in Cubase, start with VariAudio on a solo, pitched recording, correct its detected segments, then use Extract MIDI. The result is a MIDI part that needs an instrument for playback. It does not contain the recorded singer’s voice, guitar tone or effects.
These instructions follow the Cubase Artist 15 Extract MIDI documentation. Check the manual for your installed edition if the controls differ. An older tutorial showing a large Extract MIDI button is not proof that a newer version has removed the function. This is a documented workflow, not a claim that we tested every Cubase edition.
Decide whether the recording suits VariAudio
Choose a melody with one intended pitch at a time: an isolated vocal phrase, a bass line or a single-note instrument take. Listen for overlapping notes, delays and background instruments. A stereo mix of an entire song is a much harder task than an isolated part; correcting its notes may take longer than entering the melody manually.
Drum hits are a different problem. Their timing can be useful without treating each hit as a stable musical pitch. Do not choose a melodic pitch workflow just because both routes eventually produce MIDI. Likewise, a strummed chord does not become a correctly voiced chord merely because one segment is visible in the editor.
Save a copy of the session before experimenting. Work on a short phrase you can compare by ear, and keep the untouched audio available on another track. Disable effects that obscure the note attacks in your listening comparison, but do not overwrite a source recording to do so.
Inspect the segments before extracting notes
Open the audio event in the Sample Editor, enable Edit VariAudio, and allow analysis to finish. Listen while following the detected segments. Pay particular attention to repeated notes, slides and quiet endings: the segmentation is the material from which your MIDI part will be made.
A sustained vowel may be divided into several pieces. Two repeated notes may instead be interpreted as one continuous sound. Fixing a segment boundary before extraction is often easier than discovering the same mistake in a dense piano roll afterward. Do not straighten every expressive movement automatically; first decide whether you want a discrete piano melody or a performance with bends.
Once pitch and timing edits are ready, open Functions, then Extract MIDI. The manual’s prerequisite is that the segments and edits are already correct. Extraction is a handoff, not a second guarantee of transcription accuracy.
Choose a useful pitch-bend setting
The documented dialog can export notes alone or include pitch-bend information. For a first comparison with a piano sound, notes without bends make it easier to hear whether the basic melody is correct. For a sliding lead, bends may matter, but the receiving instrument must interpret them as intended.
| Goal | First thing to inspect |
|---|---|
| Editable piano melody | Note pitches, start positions and lengths |
| Preserve a slide | Exported bend data and the instrument’s bend range |
| Reproduce accents | Velocity mapping and the instrument response |
| Hear the part | Destination track, loaded instrument and output routing |
A bend range mismatch can make the right note events sound wrong. Check that before transposing the entire part. The MIDI octave guide separates actual pitch errors from different note-name conventions.
Check one phrase against a known reference
For a controlled import check, download our four-note MIDI at 120 BPM. It contains MIDI note numbers 60, 62, 64 and 67, with one quarter-note duration per note. Put it on an instrument track in an otherwise empty project, load a plain piano and inspect the four events.
This file was constructed as a reference; it is not a claimed VariAudio output. If it plays correctly but your extracted phrase does not, focus on the extraction settings and the recording. If even the reference sounds an octave away or runs at the wrong speed, inspect the project and instrument before analyzing the audio again.
When comparing against your own source, mute one version at a time. Two simultaneous sounds can hide timing errors and make differences in instrument tone seem like note errors. Keep a short list of wrong notes rather than repeatedly changing the whole conversion.
When the required feature is unavailable
If your edition does not expose the documented VariAudio controls, use a separate transcription step and import the resulting MIDI. The free browser converter can turn a supported recording into Raw MIDI locally. Start with the same short, isolated phrase, inspect the preview and download the notes. Free Raw MIDI does not require an account; optional project exports and AI arrangements are separate features.
Importing that file still requires an instrument and a tempo check. Follow the tempo troubleshooting guide if it sounds faster than the source. A successful handoff means the notes are editable and musically useful in your project, not simply that a file with a .mid extension exists.