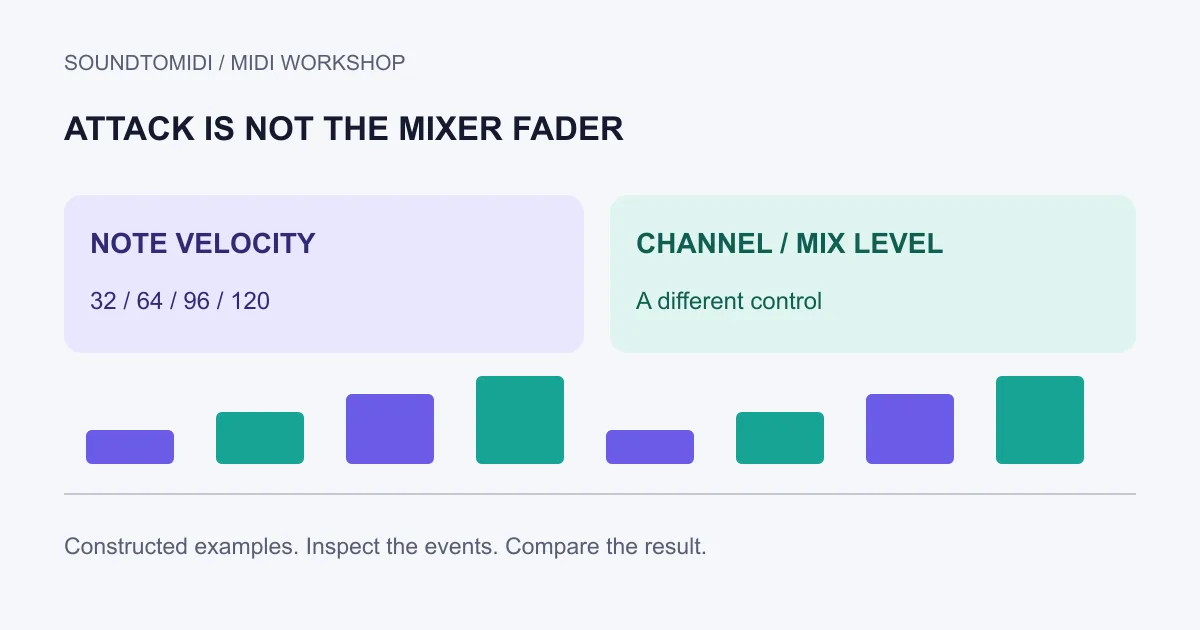
MIDI velocity describes an individual note’s attack; volume controls the level of a channel or audio output. If one note is too weak, inspect its velocity. If the whole part is too quiet against the mix, start with its instrument and mixer level. Raising every velocity can change the performance instead of simply making it louder.
The audible response depends on the instrument. Some patches use velocity to change loudness, some also change attack or sample layers, and some barely respond. A value of 100 is not a universal sound-pressure level or a promise of a particular volume.
Separate the three controls
| Control | Scope | Useful first question |
|---|---|---|
| Note velocity | A note event | Is this attack too strong or too weak? |
| MIDI CC7 | MIDI channel volume | Is controller data setting the channel level? |
| Mixer fader | The routed audio signal | Does the part sit at the right level in the mix? |
The MIDI Association’s message summary identifies velocity as part of note messages. Its controller table identifies CC7 as channel volume and CC11 as expression. Those controller messages are separate from a DAW’s audio mixer fader, even if both affect what you hear.
If a fader jumps back at the same point on every playback, inspect automation and imported controller data. Repeatedly dragging it up may only hide the cause until the next event arrives. Work on a copy before deleting automation from a performance.
Listen to a controlled velocity ladder
Our velocity example plays the same note, MIDI number 60, four times. The attack velocities are 32, 64, 96 and 120. All notes last 0.25 seconds, start half a second apart and use the same channel. No volume-controller changes are included.
Load one velocity-sensitive instrument and keep its mixer fader fixed. Listen once, then inspect the velocity lane. This file is a constructed demonstration, not a measurement of a transcription model or a guarantee of an audible difference with every preset.
Now try another instrument. A sampled piano may change its attack as the values rise; a synth preset with no velocity routing may sound nearly identical. That difference belongs to the instrument’s response. The MIDI events have not changed.
For comparison, duplicate the clip, set all four velocities to 64 in your DAW, and adjust the mixer fader. You now have a level change applied to a consistent attack pattern. Keep both clips so you can compare the musical effect instead of judging by the tallest meter reading.
Fix a weak note without flattening the phrase
Select a short phrase and identify the weak note by listening. Raise only that note’s velocity, then play the phrase again in context. Stop when the note fits the intended accent pattern. Applying maximum velocity to everything can remove contrasts that made the original phrase work.
If several notes are uneven, make small group adjustments while preserving differences. Ableton’s MIDI editor documentation describes its velocity editing controls; other editors place these controls differently. Do not confuse the lane’s numerical display with an audio loudness meter.
For audio-derived MIDI, listen back to the original before deciding that a low value is an error. A quiet pickup, a softer chord tone and a false extra detection need different treatment. Delete false notes, correct wrong pitches and only then balance their attacks.
When velocity changes seem to do nothing
First confirm you edited the clip that is actually playing. Solo the track, check that no duplicate part is sounding, and inspect the instrument’s velocity sensitivity. Then try the reference file with a plain piano patch known to respond to velocity.
If the entire track remains silent, follow the no-sound checklist. Velocity is only one possible cause; missing instruments, muted tracks and incorrect outputs can silence valid note data. Avoid making every note louder before establishing that the signal path works.
You can inspect a local MIDI file in the browser MIDI editor. Use your DAW for controller lanes, detailed instrument response and mix decisions. For a new recording, the free converter provides Raw MIDI without an account. Its result is a starting point to check, not a mastered performance with guaranteed dynamics.